
Sometimes, working too long in front of the computer can cause not only back pain, but also neck pain. And so sometimes, you not only require stretches for back tension, but also specific ones for neck tension. If you carry tension in your neck and suffer from sore and stiff muscles, you’re not alone–neck pain affects approximately 1 in 3 people. There isn’t just one cause to tackle, as this pain can be the result of a variety of factors from lousy posture to pinched nerves.
Luckily, because it is such a common problem, there are many common solutions. Stretches and exercises, all of which you can do at home, increase strength and more flexibility in the muscles, decreasing tension and making for more resilient neck muscles.
Continue reading below as we go over five moves that will increase your flexibility, loosen tension in your neck, and eradicate your neck pain.

Symptoms of neck pain
The primary symptoms of chronic neck pain are stiffness, knots, and aches that can spread to your shoulders, back, and arms. Additionally, some neck tension can develop into headaches and migraines, and extreme cases can even lead to weakness, numbness, or tingling in your arms.
If you have been experiencing serious, chronic neck pain, speak with your doctor before starting any treatments or exercising regimens. While completing the following stretches, you should feel the pull of lengthening muscles, but if you experience any pain, stop immediately.
Stretching the upper trapezius
For this stretch, you can begin by either sitting straight or standing up tall. This stretch is all about extending and pulling the upper trapezius muscle that runs down your neck, across the shoulders, and down the top of the spine.
To start, place one hand on your lower back and put your other hand on the side of your head, on the opposite side of your lower hand. Look straight ahead and pull your head down toward your shoulder until you feel your neck stretch, and hold this position for 30 seconds. Repeat on the opposite side, being sure to move slowly and not to strain the sore muscles.
Threading the needle
This challenge is all about increasing the overall mobility of your spine and releasing tension through improved flexibility.
Begin on all fours in table pose, keeping your hips in line with your knees and your hands under your shoulders. Next, reach under and across your body with your right arm, palm facing up. As you do this, gently lean toward your right side, bending your elbow. You should feel this stretch at the back of your right shoulder. Hold this position as you take one deep breath in and out. Return to table pose and repeat on the same side. After 30 seconds, switch sides repeat the stretch with your left arm.
Building a bridge
The bridge position improves the mobility of your middle back, strengthening the spine and subsequently decreasing neck tension. Throughout this exercise, ensure that your chin is tucked in to keep your neck in a neutral position.
First, lie down on a yoga mat face-up and bend your knees so that your feet are flat on the mat, hip-width apart. Push your palms and feet firmly into the ground and lift your hips. Once your hips are off the ground, clasp your hands under your pelvis to feel a stretch through your arms. Hold this position for two deep, full breaths then return to the starting position.
Clasped neck stretch while sitting
This next exercise improves the strength and mobility of the upper back muscles and trapezius.
Start by sitting in a chair, on a yoga mat, or comfortably on the floor. Make sure that your body is correctly aligned, sitting as straight and as tall as possible. Clasp your hands together and place both palms on the back of your head. Then, press your hands forward and push your head down toward your thighs, keeping your chin tucked in. Be sure not to bend your shoulders or back and concentrate on pressing your head forward. Hold this position while taking five to eight deep breaths.
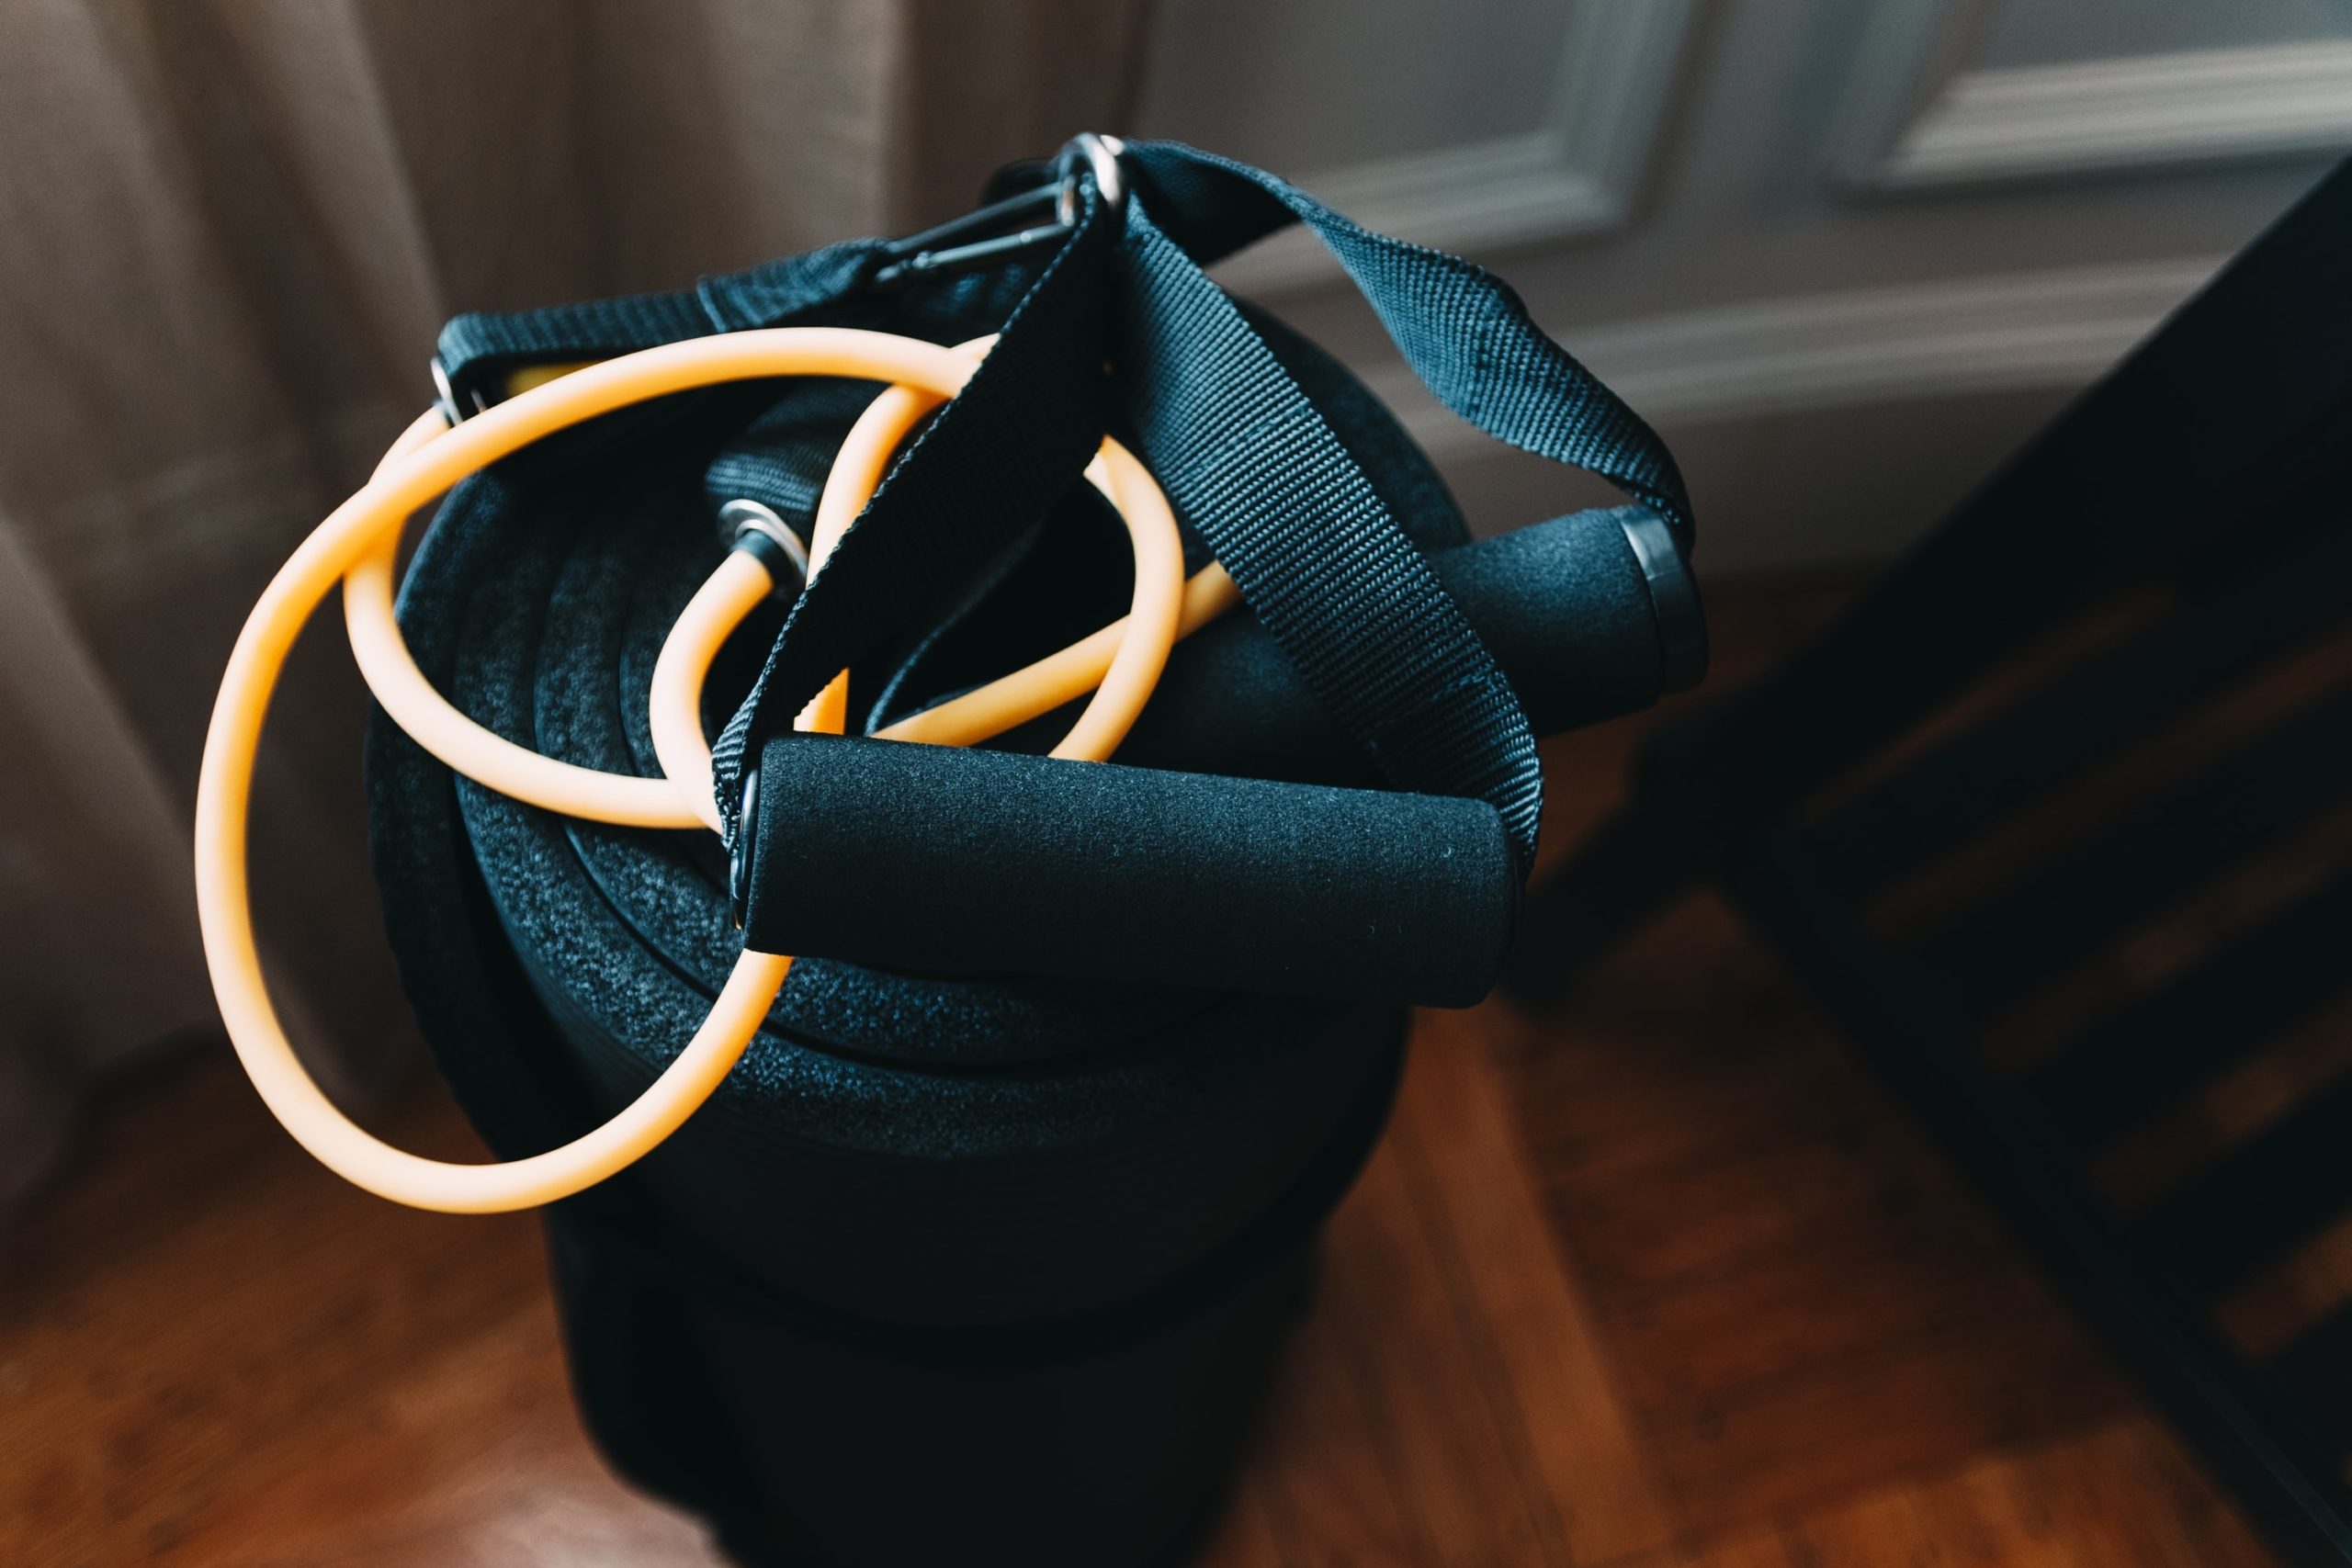
Pull-aparts with bands
This last movement targets the rear deltoids and muscles in the middle of your back.
Hold a resistance band with one end in each hand and stand with your feet placed hip-width apart. Raise your arms to shoulder height straight out in front of you and ensure your palms are facing down about six inches apart from each other. Keep some tension in the resistance band, but do not stretch it too tightly. Once you’re in position, pull the resistance band wide, extending your arms out to each side until you look like the letter “T.” Keeping your arms level, pause for a few seconds then allow your arms to move back to the center. Repeat this move continuously for 30 seconds.
Practicing these exercises consistently alleviates neck pain, but is a great preventative habit as well. By exercising, stretching, and focusing on good posture, you can significantly decrease your neck pain, prevent a resurgence of tension, and put an end to it once and for all.
BlissMark provides information regarding health, wellness, and beauty. The information within this article is not intended to be medical advice. Before starting any diet or exercise routine, consult your physician. If you don’t have a primary care physician, the United States Health & Human Services department has a free online tool that can help you locate a clinic in your area. We are not medical professionals, have not verified or vetted any programs, and in no way intend our content to be anything more than informative and inspiring.